Manage Locations
The Home Location drop-down in an item record identifies where your district stores and uses items. This field is valuable when you create resource reports, conduct an inventory, and update resources.
To define a location:
- Select Admin > Site Configuration > Site Administration tab.
- Next to Home Locations, click
 .
. - In the Add Location field, type the location's name.
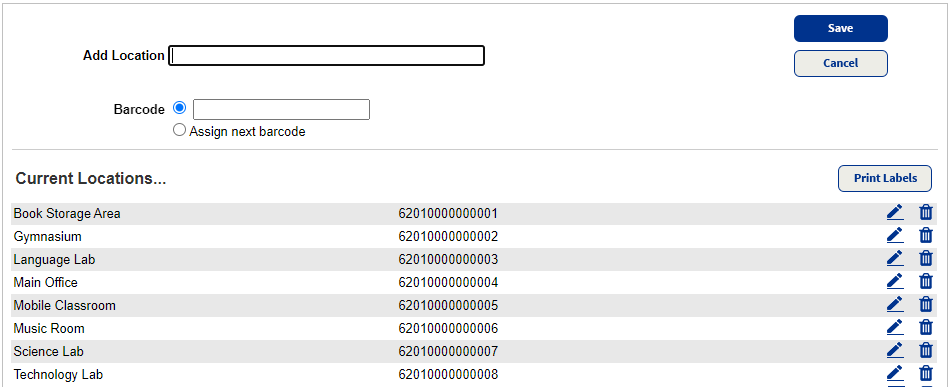
- In the Barcode section, select how to assign a barcode.
- Choose the first option, and type or scan the number.
- Choose Assign next barcode to have Destiny automatically assign the barcode number.
- Click Save.
- To print barcode labels for one or more locations, click Print Labels.
Edit or Delete a Location
To edit a location, click ![]() next to the location you want to edit. At the top of the page, edit the name or barcode number, and click Save.
next to the location you want to edit. At the top of the page, edit the name or barcode number, and click Save.
To delete a location, click ![]() next to the location you want to delete.
next to the location you want to delete.
If any resources are assigned to the location being deleted, a confirmation message includes a drop-down to reassign them to another location.