Manage library vendors
Manage the library vendors you purchase materials from, including the barcode number ranges you provide the vendors for importing. Destiny will skip the barcode numbers in all reserved ranges when automatically assigning barcode numbers and when generating Unused Library Barcode Labels.
Once you define vendors, you can select the correct vendor when adding or editing copies. You can also select a vendor or access the Library Vendor page from the Assign copy information page (Catalog > Import Titles).
When you import vendors' records, Destiny creates the copies and assigns them the reserved barcode numbers.
|
Note: You can still assign a barcode number from any of these ranges when adding a copy manually. |
To add or edit a vendor:
- Select Admin > Site Configuration > Site Administration tab.
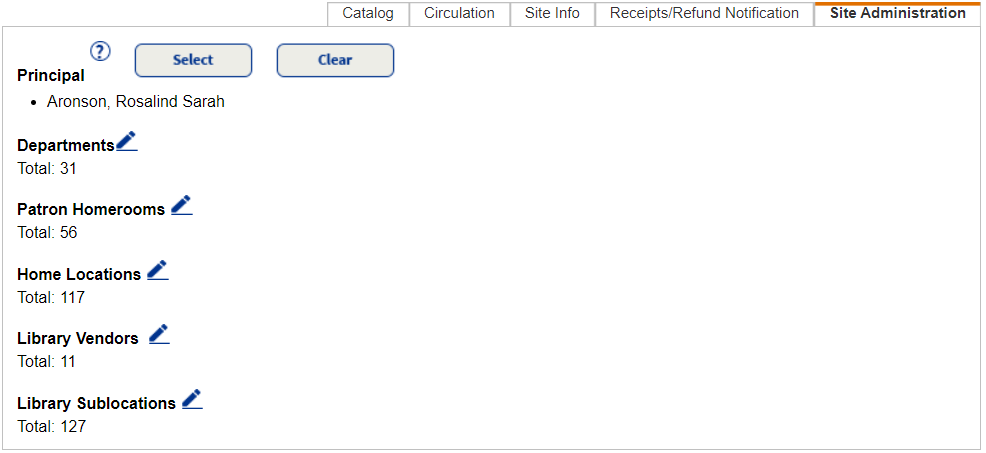
- Next to Library Vendors, click
 .
. - In the Add Vendor field, enter the vendor's name (up to 30 characters).
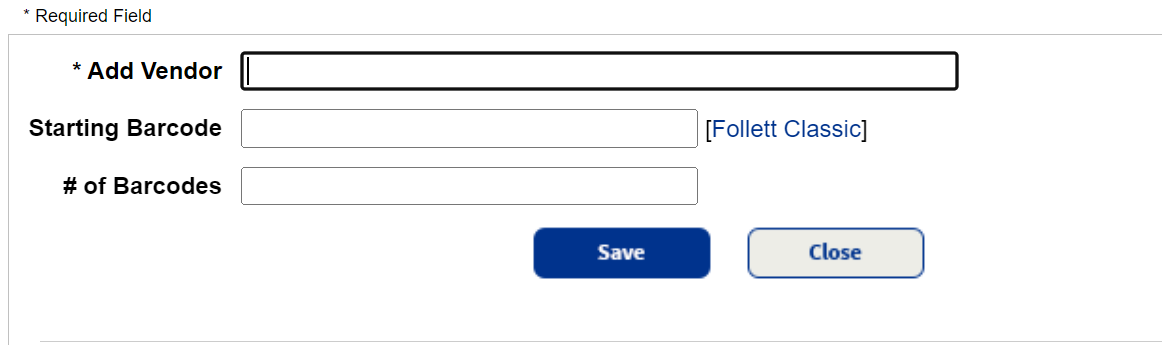
- If you are reserving barcodes for the vendor, enter the first barcode number in the Starting Barcode field.
- Enter the quantity of barcodes you are reserving for the vendor in the # of Barcodes field.
- Click Save.
To delete a vendor:
- Select Admin > Site Configuration > Site Administration tab.
- Next to Library Vendors, click .
- Next to the vendor to delete, click
 .
. - On the confirmation message that appears, click Yes.
Note: If there are copies with the vendor in the record, you can choose a new vendor from the drop-down. If a drop-down does not appear, there are no copies with that vendor record in Destiny.
If you delete a vendor that is assigned to a copy, the deleted vendor remains in the copy record, but is no longer available for other copies.
You can update the vendor for individual copies in Catalog > Update Copies > Individual Update using the barcode number. Or, update multiple copies using a vendor in Catalog > Update Copies > Global Update.