Generate a Resource Checkout Summary report (Resource Manager)
The Resource Checkout Summary report helps you determine the number and percentage of students who do not have the required resources and/or textbooks for their current classes. Destiny considers a student to be without resources and/or textbooks if they are missing at least one of the assigned items for a class.
You can run this report for all schools or a single school. If you generate the report for a single school, it can also include a list of the students who do not have each item.
This report is useful during or after distribution of resources and/or textbooks. Resources must have been checked out to the students (on any tab in Circulation > To Patron, > By Class, or reassigned in > To Teacher).
| Important: To generate a meaningful report, your school or district must have set up the classes and their sections, and assigned students and resources to them in Admin > Update Classes. |
| Note: This report does not include Teacher's Editions or Resource Kits, even if they are assigned to a class. It counts only Actual Students Assigned, not Enrollment Estimates. |
To generate the report:
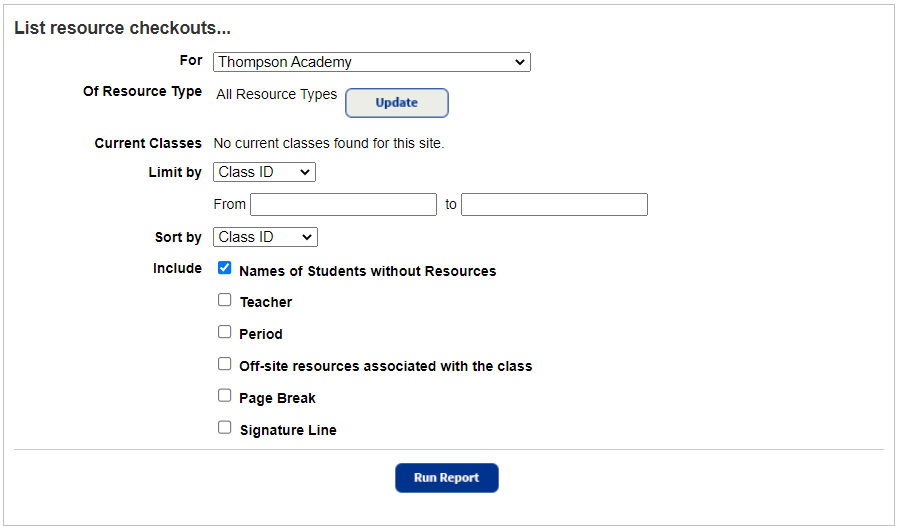
- Select Reports > Resource Reports.
- Under Circulation, click Resource Checkout Summary. The report setup page appears.
- Do any of the following:
- If you are a district user, use the For drop-down to select a single school, site type, or entire district.
Note: If running the report from the district for the entire district or multiple schools, this is the only option.
- Click Update to choose specific resource types to include in the report.
- Use Current Classes to select whether to include all classes or one class.
- Use Limit by to select Class ID, Class Name, or Teacher.
- In the From and to fields, enter a range.
Note: You can limit to one or a range. - All class IDs, names, or teachers: Leave both fields blank.
- One name or number: Enter the same name or number in both fields.
- Up to and including a specific name or number: Leave the From field blank, and enter it in the to field.
- A specific name or number and all those after it: Enter it in the From field, and leave the to field blank.
- All class IDs, names, or teachers: Leave both fields blank.
- Choose Sort by to sort the report by Class ID, Class Name, or Teacher.
- From the Include section, select the information you want in the report.
- If you are a district user, use the For drop-down to select a single school, site type, or entire district.
- Click Run Report. Report Manager displays your report at the top of the list. The status automatically updates.
- When the status of the job is Completed, select View to see the report.